Saturday, February 26, 2011

Apples...and their trees

"The apples don't fall far from the trees..."  My mom is always re creating something out of what she has or thrift store finds...just like me.  Lately, my mom had an addition put onto her house in GA.  She is in the midst of decorating it now.  That's the fun part!  I don't know how she does it though, she has 7 kids.  Yep, SEVEN, adopted kiddos!  It's a full time job for her and her husband.  There are two sets of siblings.  It's a pretty cool thing they got going on there.

Anyway...here is what she has been up to lately.  


This was an old table that she wanted to be a bit bigger.  It was 4 feet, made into 6 feet.  The top is a nice piece of wood she bought from home depot framed out.  Lucky, she has a handy husband!


This was a stool at their eat in bar.  The back broke, so she cut it off and again re topped it and framed it out.  They are now used as night stands in her bedroom.  


This is her latest thrift store find.  It was old and beat up.  She gave it a face lift.  She sanded the top, re stained it and sealed it.  She used rustoleum satin black for all the black in the photos.


Last, but not least, her hubby made this cute little hutch.  My mom cut the top down a bit because it was too tall for where she wanted it.  She again sprayed it and distressed it a bit.  Adorable.
Gotta love that spray paint.
Thanks for sharing mom, love you!


Super Sprayer

I would have never thought to use spray paint this way....very cool.  Enjoy.

Thursday, February 24, 2011

Love at first sight!


So, I saw this post on one of my favorite blog sites I follow, and fell in LUV! I just HAD to share it with you! This kind of creative idea is right up my alley.  
 Her name is Kendra  and her blog site is Creative Ambitions.
Visit when you get a chance, you will be hooked, she is sooo creative.
028blog
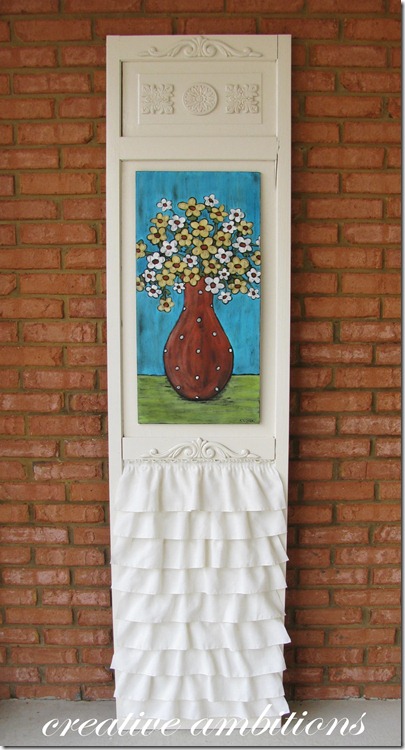
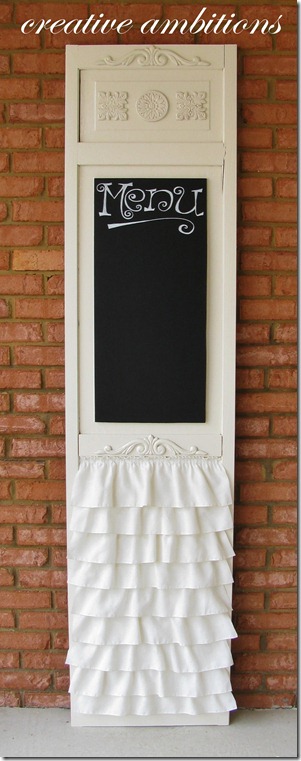
She made them interchangeable...
035blog

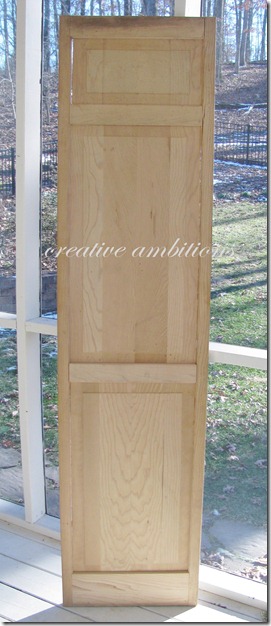
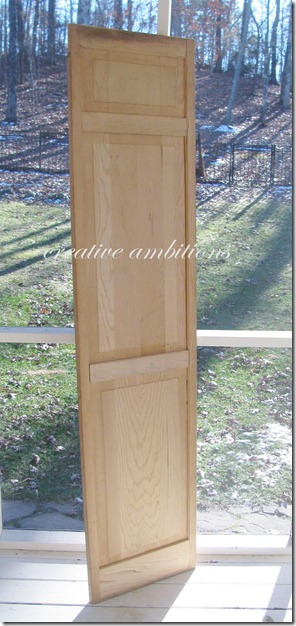
This is what Kendra started with.  
004blog  005blog
What a cute idea right?!  Check out her tutorial at:

Old Pencil Coasters

I have to first admit, I saw this idea in an old magazine I had in the bathroom. I don't know about you, but we always have drawers filled with old pencils...especially if you have school aged children.

I used 10 pencils for each coaster.  Line 'em up and decide where to cut them.  I gave them a little extra room for sharpening.


I cut them with my outdoor shears...


Line them up again and hot glue...


I made a couple of them for a friend to use on her desk at work, as a thank you for her help.
What a great gift idea for a teacher or anyone who appreciates primitive or whimsical art.  I know I do!

Fall 2010 do it yourself magazine


Sunday, February 20, 2011

Tinkering about...


 Here is what I have been up to the last couple of days... I don't know about you, but when I clean my house, I start to get these re decorating ideas aka, procrastination?!  


I have recently discovered the many possibilities of candle holders.  They are also plentiful and inexpensive at the thrift stores.  A little gorilla glue and tah dah.  There are pennies in it for now.  But I am thinking I will make some of those flower balls that I made earlier this month, except maybe a smaller ones. http://lizamaesrecreations.blogspot.com/2011/02/spring-is-in-airalmost.html


I love this little grouping that kind of came together on it's own.  I love it when that happens!  I was just rearranging some things.  I was actually putting the brown door up to see if I liked it.  I did not.


 I So, I was switching it out and put the painting in front.  I liked it!  Then put a few simple things in front.  I love when things just click.  


...and this is Romeo.  He is having a "good" day.  He did not chew anything of value today.  Darn, he's cute...which is why he's still around.


Tuesday, February 15, 2011

Love to hear from U!


Ok, so I'm new to this blogging thing.  It is a lot of fun to share the fun stuff I am creating, and checking out the beautiful things you all have created.  I am wondering if anyone has tried any of the projects, or have gained inspiration from the projects I have posted.  So, put it out there, I would love to hear from you!

Sunday, February 13, 2011

Spring is in the air...almost

This is just one of the many things you can do with these beauties...
Ok, I couldn't wait!  I was going to make a bunch of these with different colors, but I got so excited I wanted to share it with someone..and that's all of you.
I was in Michaels a day or two ago when my eye caught these really cool looking flowers...


They were expensive like $9.99 each.  Well, I wanted a whole bunch!  When I took a closer look I new I could create the same thing.  
Here's what I used:

I also used long wooden skewers that aren't pictured.
It all started with my backyard!  You know those Rose of Sharon bushes?  Well,  after they bloom, they leave these open bud thingy's.  I happen to have 4 bushes.  I started by gluing them to the Styrofoam balls.  It is a little time consuming.
Next, I sprayed it with Rustoleum Heirloom white.
Next, I mixed some acrylic paint with water to make a wash.

Using a paint brush I brushed on the color all over, just dabbing it all over.  
After it dried, I stuck a wooden skewer in it.  Then painted it with a white wash with white acrylic paint and water.  
Soooo, are you imagining all the possibilities with me???
I'm thinking different colors...fun at Easter with pastels, or go modern and paint some metallic or like the picture above maybe beachy topiary?

Let me know what you think!


Saturday, February 12, 2011

Stay tuned!

A sneek peek at what I am working with...very cool and very inexpensive!
STAY TUNED!!

Goodwill and thrift store treasures...


Here are some goodies I picked up at the GoodWill and Gift and Thrift this past week.  Very excited to get started on them.  Maybe something will find it's way to my fireplace mantel for March...ok, Not the green lamp (in case you were wondering) ...maybe in a different color.
This cute little stool was $2!  I felt like I was stealing it from the store

It looks like this attached to a mirror or something like it.

LUV this plate!  Any ideas for what I could do for the middle of it?  I kind of looks like it's screaming for vinyl lettering or something like it.  Or just like it is...simple.  Kind of looks like a sunflower?

I think I spent $8 total!

Tuesday, February 8, 2011

My little Gem...

I LOVE, LOVE, LOVE this color.  I had an old oak step stool, and wanted to create something.  I sanded it down, then painted it a fun color from my acrylic paints.


The stool was instantly transformed already to this yummy color.  I put two coats on.   After it dried I distressed the edges and corners with my palm sander.   I could have left it this color and sealed it, but I wanted to see what the glaze would do to it.  I mixed some black acrylic paint and glaze to a grayish color.  I pained it on then wiped it off in sections.  I sealed it with water based polycrylic polyurethane.  I absolutely love the color change.  Now, were to put it...
I had to add the pic of the cute kid!


Liza Mae's ReCreations: Third grade art...

 "My daughter made this in third grade. I loved it and wanted to frame it for a LONG time ( she is 14 now) I'm sure you can relate.   It is rather large like 14x7 or something like that.  I knew that buying a frame for it could be expensive.  So while at the local Good Will store I spotted some old pictures....ding!  So I brought home my $2.95 treasure and got to work.  I painted the outer frame black from my acrylic paints.  Then, what to do for the background...The print on the front was on paper.  So I flipped it over and  sprayed it an heirloom white spray paint  After it dried, I  sponged it with more acrylic paints that matched the artwork.

Monday, February 7, 2011

Liza Mae's ReCreations: Fun with .25 cents...


I found these at the local Gift and Thrift here in Mount Joy, PA.  With them being .25 cents a piece I couldn't go wrong!  I need to learn to take before pictures...anyway, one was solid dark brown and the other was porcelain, I think.  I lightly sanded the wooden one first.   I decided to play with different colors with glazes. I have lots of different colors in acrylics, so I used those. I painted them a couple of fun colors. After they dried, distressed them with sanding.  Then, I mixed a little black acrylic paint with some glaze.  I brushed it on, then wiped it off.  I love what the glaze did to them.


You can change them up with different color candles.  You could add a white candle holder for the fourth of July!


Sunday, February 6, 2011

Liza Mae's ReCreations: Coffee Table Makeover...


"Ok, so I bought this coffee table at our community garage sale last summer. I think I paid like 30 bucks for it. It was in good shape, but the top was starting to peel where there were faint water marks.  After viewing lots of other blog sites, I was inspired to change it up.  I got help from my 14 yr old to take it to the back deck to sand it. I sanded the top very quickly because it was in the 30's here in Pa.  Then, I painted the top a creamy white.  I put on two coats...of course my 10 year old came into the room and touched it right in the middle, then was nice enough to "re paint" her mistake.  ANYWAY, after it finally dried, I used my palm sander to distress the edges and corners.  This all takes place in my kitchen!  It was too cold to be in the garage, and the creative juices were flowing!  After that, I made a glaze.  I used black acrylic paint and glaze.  You just have to mix it to whatever shade you want.  I brushed it on in sections, then wiped it off from the outside to the inside.


I finished it of with a water based polycrylic polyurethane.  I used two coats, lightly sanding in between for better bonding.    

Thursday, February 3, 2011

Liza Mae's ReCreations: Cabin Fever...

This is an  old oak phone I picked up at a local flea market for five bucks...
This is what it looked like before...I took off the bells already, they were gold.
I sprayed the bells and other outer hardware this silver metal color.  I love this paint!  I picked it up at AC Moore when I was re decorating my bathroom.  I used it on the towel racks, and they turned out looking like I spent a lot of money on them...


For the body of the phone, I lightly sanded it and then used a red acrylic paint I had in my paint bin.  At first it was a  bright red.  I was hoping that adding a glaze would darken it a bit.  It did.  I then mixed some black acrylic paint with a little glaze.  You kind of have to eyeball it to get the shade you want.  I then painted it on one section at a time and then wiped it off. I loved the look!

Sorry for the bad picture :(   The middle of the phone was empty.  Something was missing from the phone originally.  I took a piece of crafting paper with black and tan vertical lines, and cut it to fit the middle.  I painted a little polycrylic polyurethane over it.  Then I went through my button bag and found a button and sprayed it the same silver metal color.  I super glued it to the middle, then painted it also with the polycrylic.

  I finished the rest of the phone with a water based polycrylic polyurethane.  I put on a couple of coats.
Tah dahhh...Now we have a fun phone and a pop of color in our kitchen!